The Xbox Game Bar is a powerful tool built into Windows 10 and 11, allowing you to capture gameplay, screenshots, and even record your screen for tutorials. On SupremeDuelist.blog, we understand the importance of easily capturing your gaming moments, and this guide will walk you through everything you need to know about recording with Xbox Game Bar. This guide is designed to help both novice and experienced users get the most out of the recording features.
Whether you’re looking to share your epic gaming wins, create engaging content, or troubleshoot technical issues, the Xbox Game Bar is an excellent free resource readily available at your fingertips. It’s important to understand its functionalities to optimize your recording quality and streamline your workflow. We’ll explore setup, recording options, troubleshooting and even dive into some advanced tips for getting the most out of this versatile tool.
Understanding the Xbox Game Bar
The Xbox Game Bar is more than just a gaming overlay; it’s a built-in Windows feature packed with tools for gamers. Beyond recording gameplay, it offers quick access to social features, performance monitoring, and audio controls. Knowing where each feature resides will make capturing your gameplay a breeze. Before we dive into the specifics, understanding the basics of its interface will drastically improve your user experience.
How to Open the Xbox Game Bar
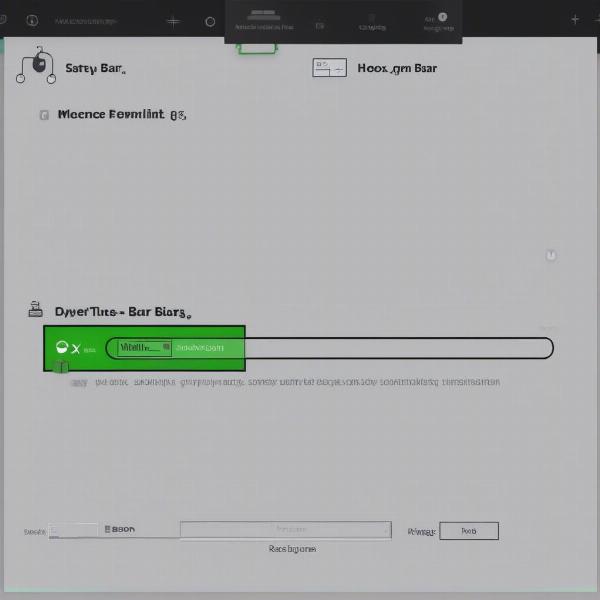
The quickest way to access the Xbox Game Bar is by pressing the Windows key + G on your keyboard. This shortcut works almost universally while you are in a game or application. If that doesn’t work, you can also search for “Xbox Game Bar” in the Windows search bar and open it from there. Once opened, the overlay will present you with a variety of widgets, including Capture, Audio, Performance, and more. You should become familiar with each of these widgets for a smooth recording experience.
 Xbox Game Bar interface showcasing the capture options
Getting Started with Recording
Before you jump into recording, let’s get the basic recording setup right. This includes accessing the capture widget, starting a recording, and understanding the limitations of the Xbox Game Bar.
Starting and Stopping Recordings
Once the Xbox Game Bar is open, the Capture widget should be visible. If you don’t see it, you can enable it in the Game Bar settings. To begin recording, click the “Start Recording” button (it looks like a circle). The button will turn into a square which is the “Stop Recording” button. You can also use the keyboard shortcut Windows key + Alt + R to start or stop a recording. The time elapsed will be visible in the small recording widget overlay. Knowing this is crucial for seamless recording sessions.
Understanding Recording Limitations
While the Xbox Game Bar is convenient, it’s good to note that it only records active application windows. If you switch to your desktop or another application, the recording will stop. This is different from a screen recorder which can record the entire display. Additionally, you may find that complex games can cause performance issues. The Xbox Game Bar is designed for gameplay recording, so it may not be the best solution for professional screen capture needs, but it is more than adequate for most users.
Optimizing Your Recording Settings
To get the best possible recordings, you’ll want to take a look at your recording settings. These allow you to control resolution, frame rate and capture of microphone audio.
Accessing Recording Settings
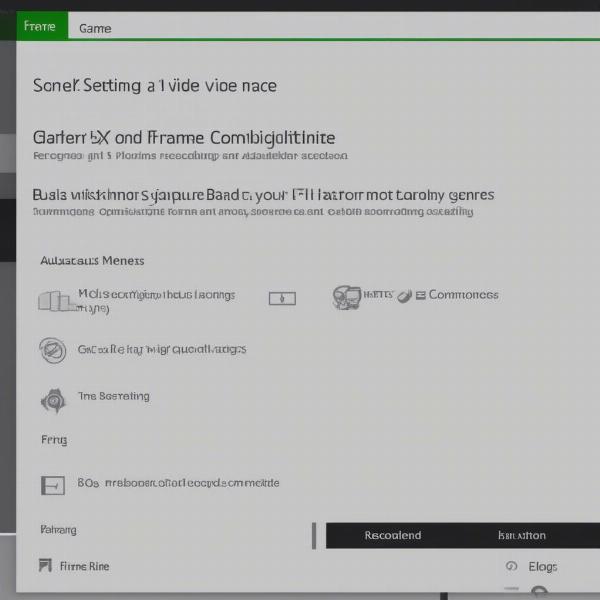
To adjust settings, open the Xbox Game Bar, and click on the settings cog icon. Go to “Capturing”. Here you can adjust various settings such as the video quality, frame rate and audio quality. Make sure you explore the “Recorded Audio” settings too. Depending on the device and your goals you may wish to tweak these settings further.
Recommended Recording Settings
For high-quality recordings, it’s generally recommended to use the highest video quality and frame rate your system can handle. However, remember that higher quality recordings will take up more storage space on your hard drive. If you are recording for sharing on platforms such as YouTube or Twitch, a frame rate of 30 or 60 frames per second will be ideal. Audio settings should match your recording setup, typically 44.1KHz for most desktop microphones.
Microphone Recording
You can enable or disable microphone recording in these settings. For commentary or to capture in-game audio from voice chat, it’s important to have your mic correctly configured. For example, if you find that your xbox game bar mic not working, you can delve further into the audio settings to ensure it is selected.
Advanced Recording Features
The Xbox Game Bar also has features to help with advanced recording tasks. Here’s a look at some of them.
Record in the Background
If you’ve had an awesome moment that you weren’t recording, the Xbox Game Bar may have your back. If background recording is enabled, it will continuously record up to the previous few minutes of gameplay. You can then activate the record last command to save a clip of this event. This feature is great for moments you don’t expect. This can be enabled in the Game Bar’s capturing settings.
Live Broadcasting to Mixer
While the Mixer service is no longer active, it highlights the potential of using the Game Bar for live streaming. You may find third party applications that may be able to use the Game Bar’s streaming capture functionality. It should be noted that the Game Bar is primarily designed for capture, rather than direct streaming, but this can still be done.
Screenshot Capture
The screenshot option of the Game Bar is great for quickly saving still images of gameplay or the current window. This is done from the same capture widget that is used for recording video. The shortcut Windows key + Alt + Print Screen can also be used.
 Xbox Game Bar capture settings showcasing video quality, frame rate, audio options
Troubleshooting Common Issues
Sometimes, the Xbox Game Bar may not work as expected. Let’s look at some common issues you might face and what to do about them.
Xbox Game Bar Not Recording
If your xbox game bar not recording, the first thing to do is to check if it is enabled in Windows settings. Go to “Settings,” then “Gaming,” and ensure that the “Xbox Game Bar” is toggled on. If it was already enabled, try toggling it off and then on again. Also, check that your graphics card drivers are up to date. If issues persist, try restarting the computer.
Xbox Game Bar Won’t Record Voice and Friends
Sometimes, your audio settings may be incorrectly configured. If you are having issues with xbox game bar wont record my voice and friends, first check that your microphone is set as the default recording device in Windows settings. Next, ensure that microphone access is enabled within Game Bar settings. You may also need to verify that your friends’ audio settings are correctly set within the game or chat application you are using.
Conflicts with Other Software
Sometimes, other software can conflict with the Xbox Game Bar. If you notice that the recording feature stops working after installing or running new software, try disabling recently installed applications. If the issue is resolved, you can try re-enabling each application one by one to isolate the conflicting software.
“The key to mastering Xbox Game Bar is to practice with the features before diving into a critical recording session. Understanding its limitations and configurations is vital,” says Sarah Chen, a freelance game capture expert.
Tips for Better Recordings
Now that you know the ins and outs of the Game Bar, let’s take a look at some final tips for getting high-quality recordings.
Practice Your Workflow
Before you start recording anything crucial, practice your workflow. Get used to the hotkeys and the recording interface. The more comfortable you are, the smoother your recordings will be. You could start off by recording some smaller clips and seeing the quality of the video, and getting a feel for how the various functions work before committing to recording a longer clip or even a full game.
Reduce Background Noise
If you’re recording with a microphone, try to reduce background noise. A quiet room will result in clearer audio. You can also use noise cancellation software or hardware to further improve audio quality. This can make a huge difference for viewers that are watching your recordings.
Optimize Your System
Close other applications while recording to maximize performance. The Xbox Game Bar uses system resources, and having other applications running will reduce performance on some systems. Optimizing your system for recording will help prevent dropped frames or other performance issues.
“Always check your audio levels before you start. Nothing is more frustrating than recording a fantastic session only to realize that your microphone was too quiet or too loud,” adds David Lee, a professional video editor.
Conclusion
The Xbox Game Bar is a fantastic, free tool for recording gameplay and screen activity on Windows. By understanding its features, limitations, and settings, you can optimize your recordings and enhance your overall experience. Remember to troubleshoot any issues, test your configurations, and, most of all, practice. For those looking to enhance their experience with this feature, there are other resources that cover the functionality, such as how to install xbox game bar if you have not already got it, and for more information on the Xbox platform, be sure to regularly visit SupremeDuelist.blog. Now, go forth and capture those amazing moments!
The Xbox Game Bar provides great entry to video capture, and remember to always review and make changes to get the best out of the recording process.
Leave a Reply