Recording your epic gaming moments on Xbox is a fantastic way to share your skills, create content, or simply relive your best plays. At SupremeDuelist.blog, we understand the thrill of capturing those perfect victories and hilarious fails, and we’re here to guide you through the various methods of recording your Xbox games. Whether you’re a seasoned streamer or a casual gamer looking to save a clip, this article will cover everything you need to know.
This comprehensive guide will explore the built-in Xbox recording features, delve into using external capture devices, and even touch upon recording through PC. We’ll also address common issues and provide tips to enhance your recording experience, ensuring you can capture high-quality footage consistently. Understanding the nuances of each method will empower you to choose the best approach for your specific needs and preferences. Let’s dive into the world of Xbox game recording!
Using the Built-in Xbox Recording Feature
The Xbox console comes with a convenient, built-in recording function that’s perfect for quickly capturing gameplay. This feature is incredibly user-friendly, letting you easily record clips and screenshots without needing any additional hardware. This is the easiest way to grab those memorable moments.
How to Start Recording on Your Xbox
To start recording on your Xbox, follow these simple steps:
- Press the Xbox button on your controller. This will open the guide menu.
- Navigate to the Capture & Share tab.
- Select Start Recording. This will start recording your current gameplay. You’ll notice a small recording icon in the corner of the screen.
Alternatively, you can simply press the Share button on your controller (the button with the square and arrow icon) and select the desired recording option.
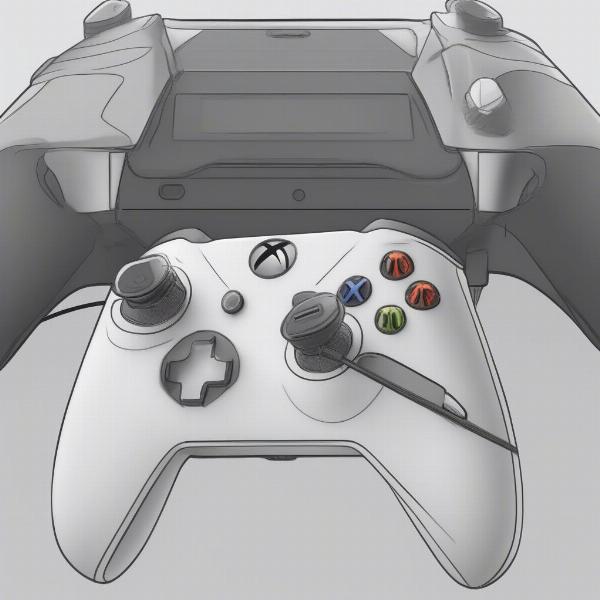 xbox gameplay record
Recording Time and Customization Options
By default, Xbox consoles are set to record the last few minutes of gameplay, often ranging from 30 seconds to a couple of minutes. This is great for capturing those unexpected moments. However, you can easily customize the recording length. In the Capture & Share settings, you can adjust recording duration as needed, and these settings can be found within your Xbox preferences, giving you more control over your gameplay footage. If you’re having trouble with game sharing, you can check our article on xbox game share not working for troubleshooting tips.
Where are the Recorded Clips Stored?
Once you have recorded gameplay footage, your clips are automatically stored within the Xbox Capture & Share library, where you can access and manage your content. From here, you can view, edit (basic trim functions), and share your clips directly to social media or OneDrive. Additionally, you can transfer them to an external drive for storage or further editing on a computer.
Using an External Capture Card for Enhanced Recording
For gamers who want more control over recording quality and length, using an external capture card is the way to go. This method provides higher quality footage and flexibility. You’ll need a compatible capture card connected to your Xbox and computer.
Setting Up Your External Capture Card
- Connect your Xbox to the input of the capture card via HDMI.
- Connect the output of the capture card to your monitor via HDMI.
- Connect the capture card to your computer via USB.
- Install the necessary drivers and software provided by the capture card manufacturer on your computer.
With the hardware connected, you are ready to record.
Recording with Capture Card Software
After correctly setting up your capture card, use the dedicated software for recording. Typically, these applications allow you to configure your recording settings, like resolution, bitrate and framerate. It’s often suggested to record at the highest settings your computer can handle to get the best result possible. You can also utilize software such as OBS (Open Broadcaster Software) for greater control. By using a capture card, you are not restricted by built-in Xbox limitations.
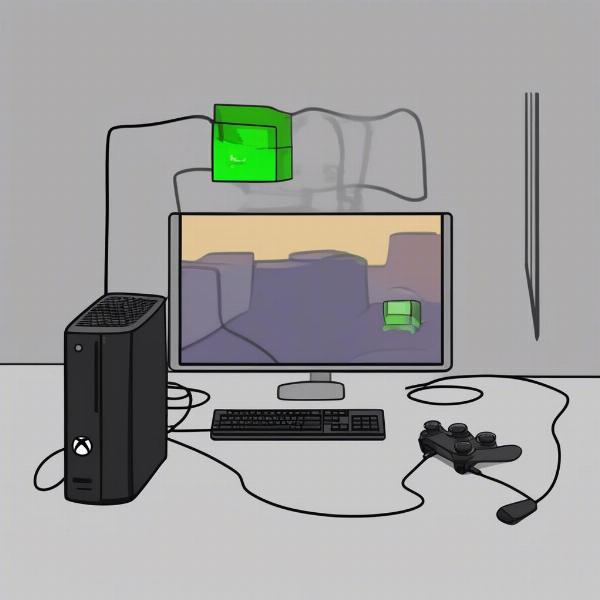 external capture card setup
Advantages of Using a Capture Card
External capture cards provide several advantages compared to the Xbox’s built-in feature, such as, but not limited to:
- Higher Video Quality: Capture cards allow recording at higher resolutions and frame rates, up to 4K/60fps or even higher.
- Longer Recording Times: They aren’t restricted by the console’s time limits, allowing you to capture full-length gameplay sessions.
- More Control: You can customize more recording settings, such as bitrate, audio input, and more, which can lead to better audio-visual quality.
Recording Xbox Games on PC
If you’re using Xbox Play Anywhere titles or streaming via the Xbox app on your PC, recording gameplay on your computer becomes an option as well. There are multiple ways to capture footage directly from your PC, either via the built-in Xbox Game Bar or third-party apps.
Using the Xbox Game Bar on Windows 10/11
The Xbox Game Bar is a handy feature on Windows 10 and 11 that allows users to record gameplay, take screenshots, and access other widgets.
- Open the game you wish to record.
- Press the Windows key + G to open the Game Bar.
- Click on the record button to start recording. A small timer will appear.
- Click the same button (now a stop recording button) to stop your recording. Your clips can be found within the captured section of the Game Bar.
If you’re finding the Xbox Game Bar cumbersome and want to explore alternatives, you can also find information on how to disable xbox game bar and how to disable xbox game bar windows 11 in our other articles.
Third-Party Recording Software on PC
You can also use other third-party software to record your Xbox games on your PC. Options like OBS Studio, Fraps, or Nvidia ShadowPlay (if you have an Nvidia GPU) offer more advanced features and configuration options that can help you capture high-quality footage. These programs let you record the game as it is displayed on your monitor, which is also good for streaming.
Advantages of PC Recording
- Flexibility: The capacity to use multiple softwares gives you a lot of freedom to choose your prefered method
- High quality: Many software offer high video resolution and framerate, even better than that of Xbox’s internal capture
- Streaming options: Your recording software can also be used for live streaming on other platforms.
Additional Tips and Tricks for Recording Xbox Games
Regardless of your preferred recording method, here are some additional tips and tricks to make sure your recordings are top-notch:
Optimizing Your Recording Settings
- Resolution and Frame Rate: Adjust the settings to match your monitor resolution and try to capture at 60 fps for smoother gameplay.
- Bitrate: Higher bitrates result in better quality footage but also increase the file size. Adjust this to balance quality and file storage capacity.
- Audio Settings: Ensure that game audio and voice chat are balanced. It might be useful to have separate audio track for these two so you can have greater flexibility with editing, if needed.
Common Issues and How to Fix Them
- Lagging Video: If your recording lags, reduce the resolution or bitrate and check if your recording device or PC meet the recommended specs for recording.
- Audio Problems: Check your audio settings, input sources, and connections. Ensure your microphone is working properly.
- File Size Management: Use video compression tools, such as Handbrake, or record at a lower resolution to keep files manageable.
 xbox recording configuration settings
Expert Insight
“Consistent recording requires a bit of trial and error, so start with small recording segments and test your settings,” advises Sarah Miller, a gaming content creator and long-time Xbox user. “Don’t be afraid to tweak audio and video settings to find the best balance.”
Sharing Your Recorded Gameplay
Once you have your recorded footage, you can share it with your friends or on social media directly from your Xbox or via your PC. The exact sharing steps depend on how you recorded your game, but typically involve using either the built in options on Xbox or the platforms on your PC. You could even use dedicated video editing software to prepare high-quality compilations and other content. If you are interested in playing Xbox games on other devices, be sure to check our article how to play xbox games on backbone.
Frequently Asked Questions about Recording Xbox Games
Q: What is the best way to record my Xbox gameplay?
The best method depends on your needs. The Xbox’s built-in feature is great for quick clips, while external capture cards and PC recording offer more control and quality.
Q: Can I record party chat while recording gameplay?
Yes, you can record party chat. You may need to adjust your settings to include party audio in your recordings.
Q: How do I make my videos higher quality?
For higher quality, use an external capture card, record at higher resolution and frame rates, and adjust the bitrate to a suitable level.
Q: How long can I record gameplay using Xbox’s built-in feature?
The length of the recording depends on your settings, you can record up to 1 hour (max.) on most consoles.
Q: Can I record games from Xbox on my PC?
Yes, you can record Xbox games on PC using the Xbox Game Bar, or via dedicated recording software. For games that support Play Anywhere, you can record directly through the PC.
Q: How to store my clips?
You can either save them to the console itself, OneDrive, an external storage or to your PC.
Conclusion
Recording your gameplay on Xbox can be both simple and advanced, with different methods catering to different needs. From quick clips with the built-in recording feature to high-quality captures using external devices, there are many ways to document your gaming adventures. At SupremeDuelist.blog, we encourage you to experiment with different methods, adjust your settings, and find what works best for you. So, go ahead, start capturing those epic moments, and share your best games with the world! Don’t forget to revisit SupremeDuelist.blog for more helpful guides and tips on all things gaming.
Leave a Reply